Di kutip dari sumber : https://www.officeholidays.com/countries/europe/ascension_day.php When is Ascension Day? Ascension Day is the 40th day

Space-Saving, Stress-Free Tips for Storing Decorated Cookies
Baking and decorating cookies is fun, but running out of space when dealing with huge orders isn’t! It’s important to know the correct way to store decorated cookies so that you can make big batches of cookies with no stress.
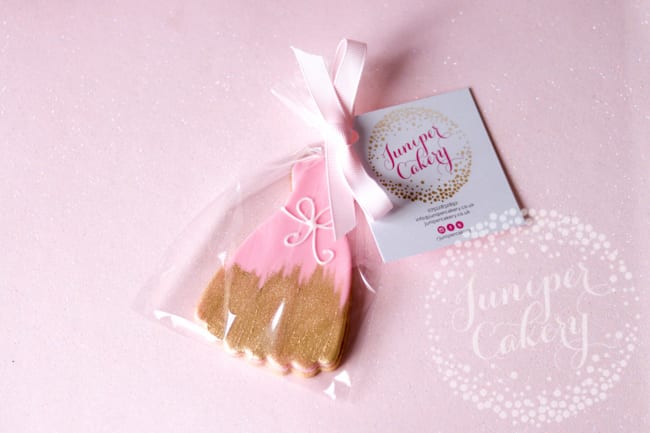
TO HELP TAKE THE STRESS OUT OF LARGE ORDERS, WE’RE SHARING A FEW OF OUR MOST HELPFUL COOKIE STORAGE DOS AND DON’TS.
1. Freeze pre-cut shapes
When planning large orders in advance, you can make your dough, pre-cut the shapes and freeze them before baking. Just stack your cut cookies with a piece of waxed or parchment paper between each and pop them in the freezer. Once frozen, wrap each stack of cookies with cling film and then put them back in the freezer to save space.
Remember to label every stack with the flavor, date made and order details. Your frozen cookies will keep for around 3 months.
When you need them, remove from the freezer and place on trays (without the slip of greaseproof paper) and bake straight away.
2. Bake frozen cookie dough
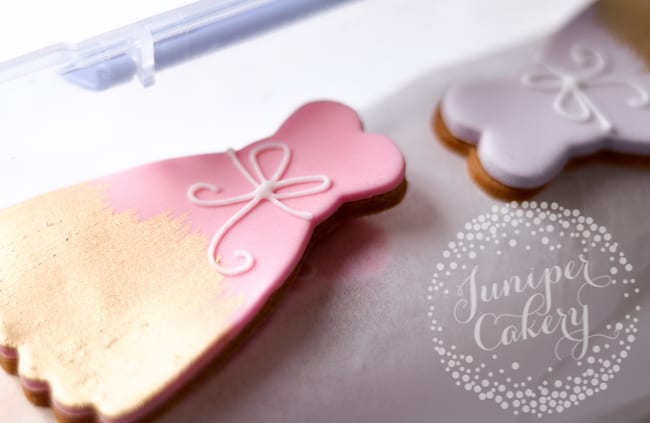
If you’ve pre-mixed and frozen your dough, thaw it out by leaving it in a refrigerator for a couple of hours. Then you can roll, cut, chill and bake! Re-freezing the dough will lessen the taste and quality so we wouldn’t recommend putting your dough back in the freezer afterward. To help cut down on waste, why not separate your cookie dough into small balls right after making it?
Tip: We don’t recommend freezing or chilling finished decorated cookies. Water spots can develop on your work, colors can change and water can even eat through your royal icing.
3. Use stackable trays and cooling racks

When your cookies are decorated but still need a little time to dry, trays and cooling racks are really handy. They can take up a lot of space, though, which is why we like stackable or tall bakery-style rack towers. They’re the best way to save a little space if you need to work on other projects.
Tip: Buy a few extra racks to that you can work on other projects while your cookies dry.
4. Keep your cookies away from humidity
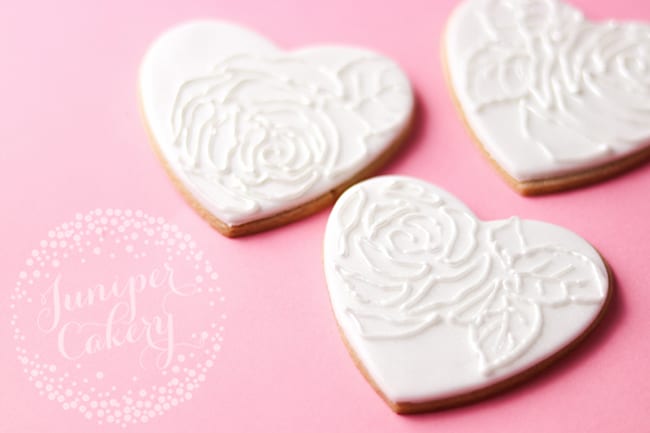
Humidity is not a friend to anything sugar-related. Sugar soaks up moisture in the atmosphere around it. This means that any humidity can lead to tacky, soft or wet-looking treats. Icing can develop a sweaty appearance, break down or end up with unattractive blotches.
If you live in a humid environment or have to deal with wet weather, we recommend getting a dehumidifier. We live on a consistently rainy island (U.K.) and right next to a river. When we work on icing cookies (and sugar flowers) we make sure all the windows in our workroom are shut and we crank up our dehumidifier! You can also turn the heat up a little, which tends to dry out the air indoors.
5. Package cookies in cellophane bags
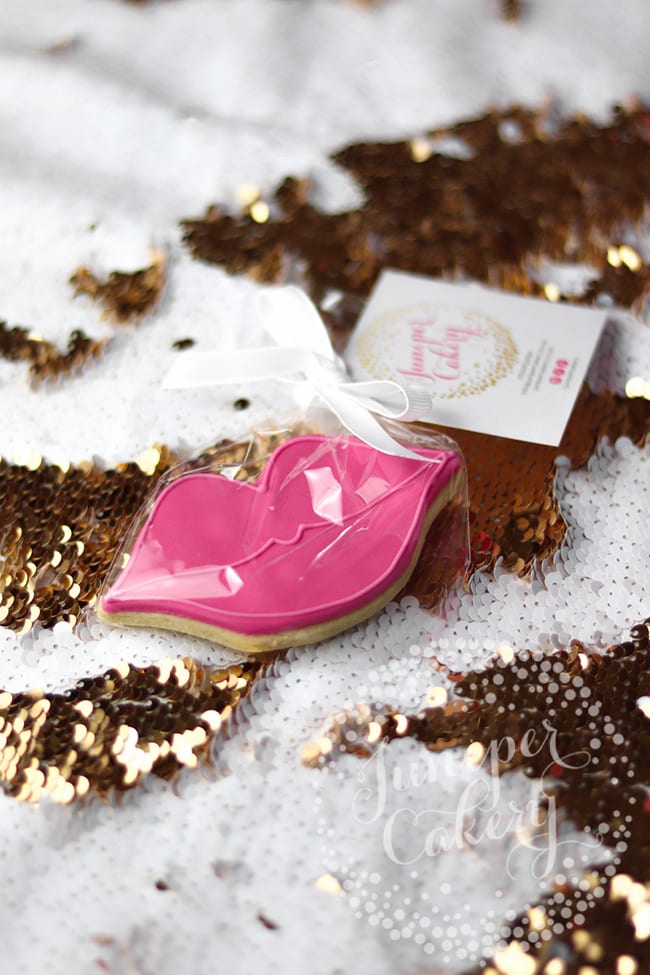
One of the best and most cost-effective packaging solutions for cookies are cellophane bags! We’ve had no problem simply hand tying these (even for larger events). However, for a little extra security, you can lightly seal your bags using a laminator to help make them airtight. You can also bunch up your cellophane and press the center with your laminator before then tying the gather with a pretty bow.
6. Store cookie decorated in advance in airtight containers
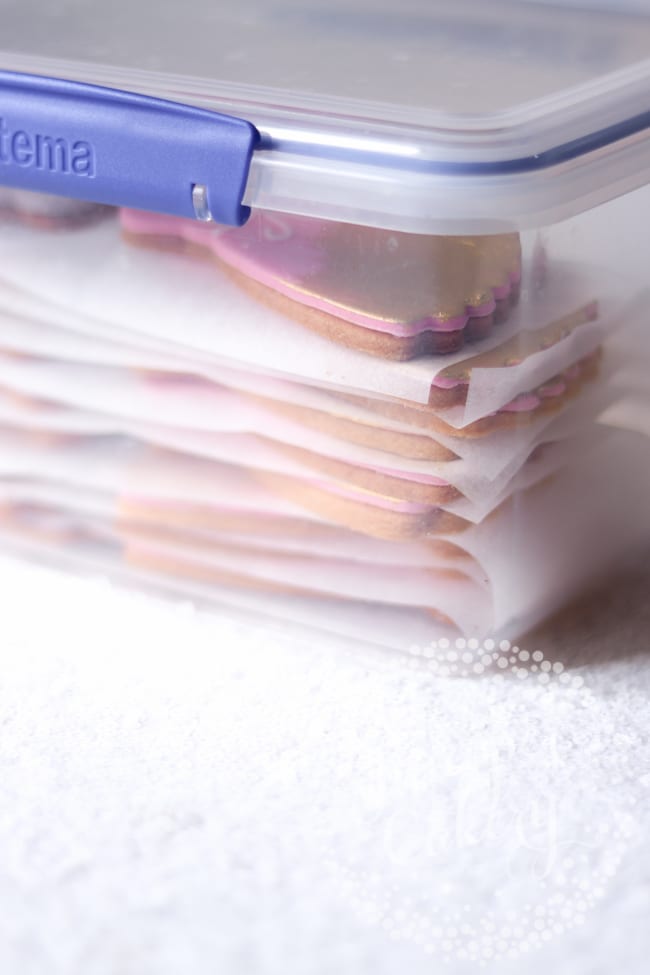
Decorated cookies will keep in an airtight container for up to one week. You don’t want to work too much farther in advance, though.
To store your decorated cookies, place the cookies right side up in one flat layer in your container. Then, place a sheet of waxed paper or parchment paper over the cookies before placing another layer of cookies in the container. This helps avoid dents, mark or chips.
Make sure you use good quality airtight containers! Cheap ones can still let in moisture, which will ruin your cookies. Once boxed up, keep in a cool dark spot like a cabinet or cupboard. Storing your cookies near any light source can fade or warp your colors.


